
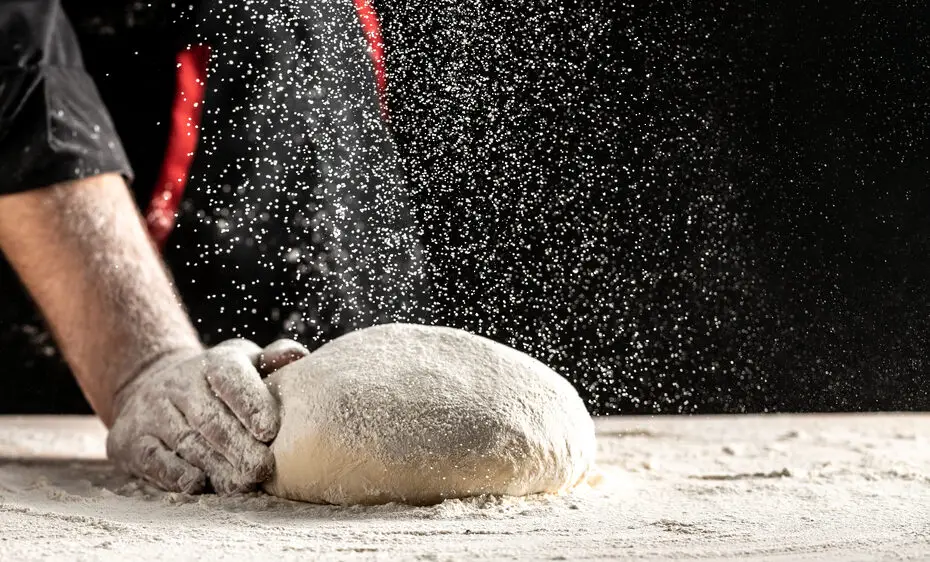
If you’re interested in making your own homemade pizza dough, there is one crucial step that you may not yet be aware of: proofing.
So, what does proofing entail? What difference does it make to your pizza dough?
Today, we’ll be answering all of the questions and breaking down the key facts that you need to know when it comes to proofing pizza dough! We’ll be taking a look at:
- What is proofing of pizza dough, and how it works
- Advanced tips when it comes to cold-proofing
- How to store and cook the dough.
Let’s go ahead and jump right into it!
What Is Proofing Of Pizza Dough?
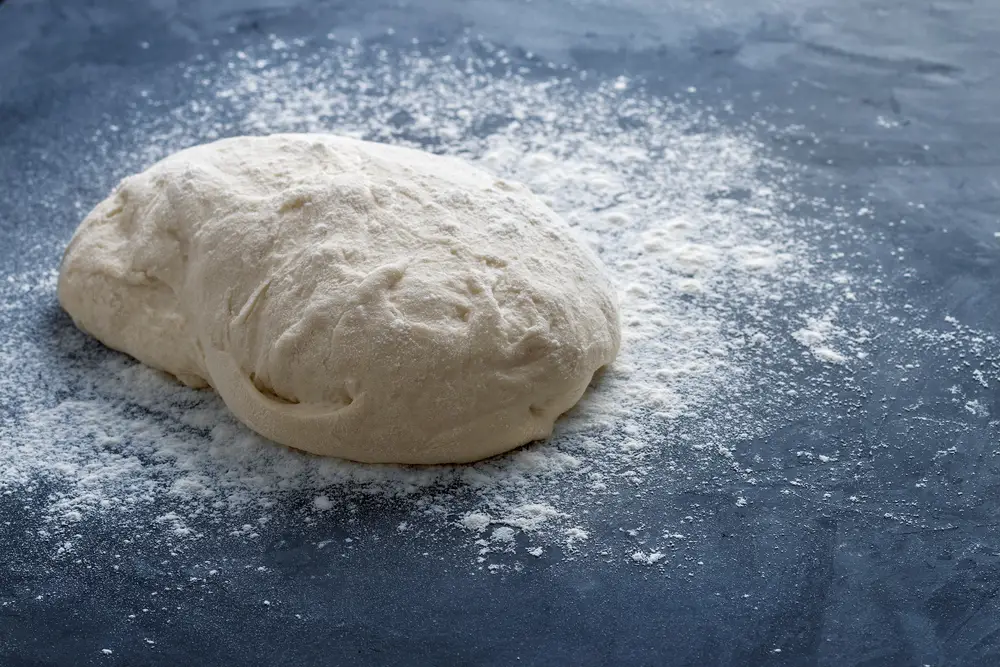
To proof pizza dough is to let it rest and rise before you roll it out and bake it!
During this process, the yeast present in the dough eats away at the sugar and converts them into CO2. This can cause the dough to increase greatly in volume.
Proofing, Rising, Or Fermentation?
There are a few different steps in the pizza dough-making process that are often mistaken for each other. These steps are proofing, rising, and fermentation.
So, what do each of these terms mean? What are the differences between them? Let’s break down each of these steps and exactly what they entail:
What is rising?
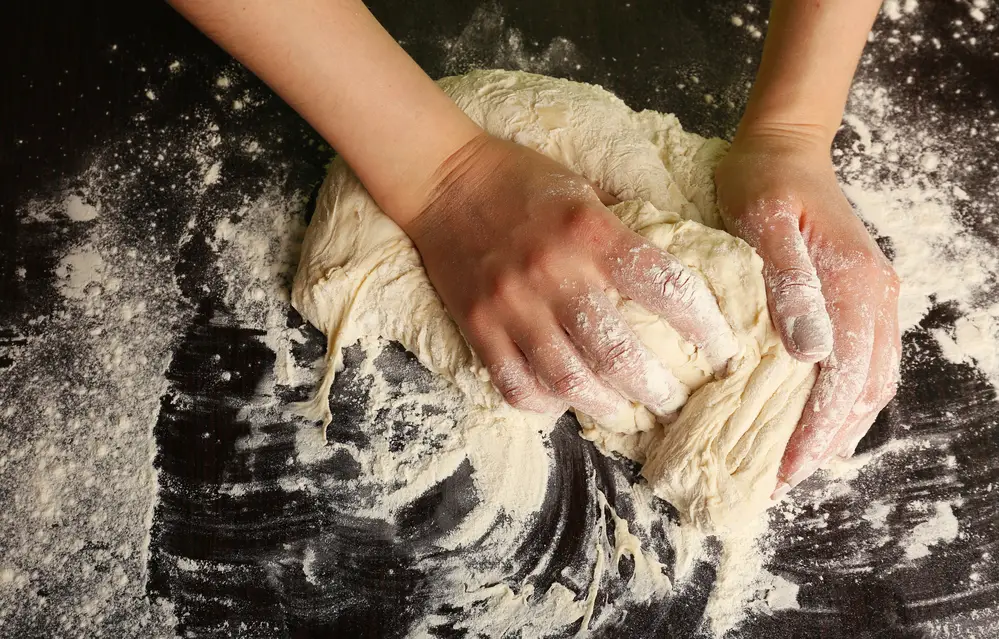
Rising, also often referred to as bulk fermentation, describes the first time the pizza dough is left to rise. This is done before the dough is shaped and can result in significant expansion of the dough.
What is proofing?
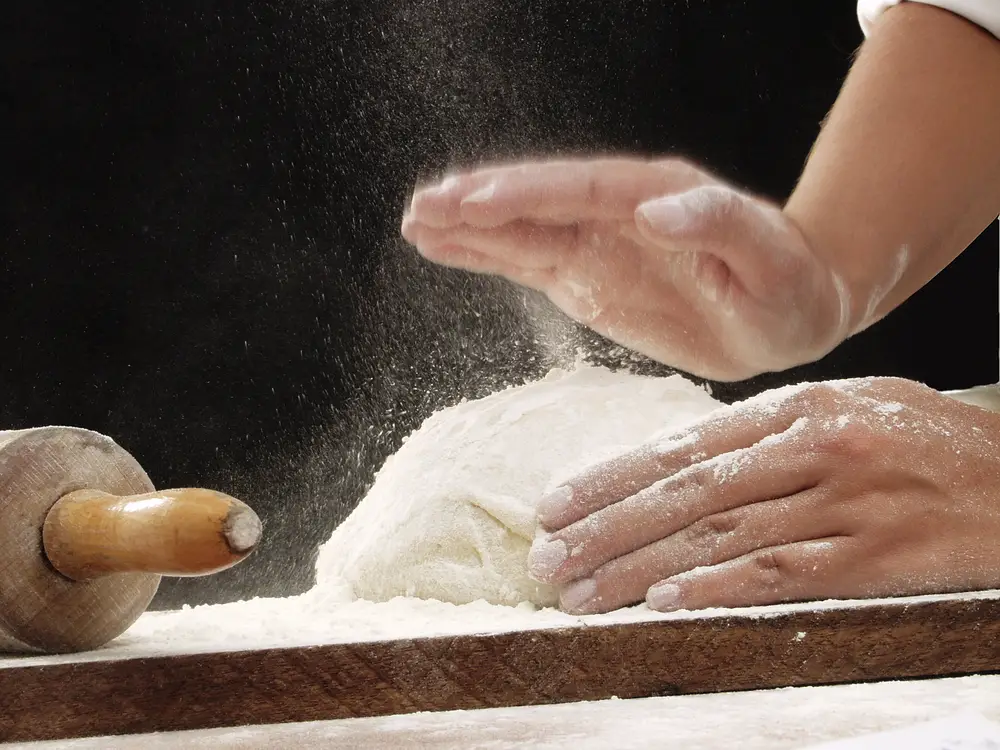
Proofing refers to the second time that the pizza dough is left to rise, and takes place after the dough has been shaped. This step takes place right before the pizza dough is baked.
What is fermentation?
Fermentation is the chemical process that takes place within the pizza dough when the enzymes in the yeast break down the sugar and convert it into CO2.
How to Proof Pizza Dough? – Process
What exactly happens during the proofing stage of making pizza dough? How does this affect the dough?
Let’s break it down step-by-step and take a closer look at just how the proofing process works:
Yeast Becomes Active, Consuming Sugars
The yeast in the dough activating is what kicks everything off. The enzymes in the yeast then proceed to consume the sugars in the dough.
Fermentation Process Initiates
From here, the fermentation process begins. This chemical process is essential when it comes to creating good pizza dough.
Carbon Dioxide Is Released
At this stage in the proofing process, CO2 (carbon dioxide) is released within the dough.
Gas Forms Air Pockets In Dough
The gas that ends up being released subsequently forms air pockets within the dough.
Dough Expands And Rises In Volume
The air pockets that form in the dough cause it to expand and rise in volume.
Gluten Proteins Stretch And Strengthen
At this stage, the gluten proteins in the dough stretch and strengthen. This leads to one of the most notable changes in the dough’s texture and consistency.
Improved Texture And Elasticity
With its newly stretched and strengthened proteins, the dough now has a greatly improved texture and more elasticity. This makes for a chewy base with a great mouthfeel.
Enhanced Structure And Shape
The stronger proteins within the dough mean that it now has more structural integrity and will hold its shape through the baking process.
Flavors Develop As Dough Matures
As the dough rests and matures, the flavors within the dough will develop and strengthen. The proofing process is not only great for the texture of the dough but for the taste as well.
Results In Lighter, Softer Baked Goods
The final outcome of the proofing process is a dough that is going to bake well and result in lighter and softer baked goods.
Method 1: Quick Proof Dough
In order to proof dough quickly, you will need an environment with a warmer temperature where the dough can rest and rise.
Any climate just above room temperature is perfect for this, and a great warm spot to create this environment is the inside of your oven! Let’s take a look at one great method for quickly proofing dough in your oven.
Before you begin, make sure that your pizza dough recipe contains enough yeast for a successful proofing process, as well as enough sugar to initiate fermentation.
A dash of extra sugar or another teaspoon of yeast in your dough is a great way to kickstart this process. Just don’t add too much — you don’t want a yeasty crust!
- Place your dough in a bowl or on a plate and cover it with either plastic wrap or a clean dish towel
- Slide the bowl or plate of dough onto a baking rack in your oven. Near the top or middle of your oven will work best
- Insert another baking sheet or rack directly below the one with your dough on it
- Heat 3-4 cups of water until it is steaming. Pour into a large, shallow bowl or pan.
- Place the bowl or pan of water on the rack directly below the rack with your dough. They should be in relatively close proximity, but not touching
- Turn on the oven light. This adds just a touch more warmth to the situation
- Close the door – and keep it closed! Opening the door will slow this process
- After around 20-25 minutes your dough should have doubled in size, depending on the density and type of dough.
This method is a great way to whip up a quick dough, although it will take a bit of work compared to cold proofing. That being said, this is an excellent way to proof your dough at a faster rate – which can be great in a time crunch!
Method 2: Cold Proof Dough
Cold proofing will take much longer than quick proofing, but it will also take considerably less effort. Here is how to go about cold-proofing your dough:
- Place your dough in a mixing bowl or on a plate
- Cover the dough with plastic wrap or a clean dish towel
- Place your dough in the refrigerator for a few hours – or even overnight.
It’s as simple as that! If you’re in no rush and have no problem with popping your dough in the fridge for the night and baking it the next morning, then this may be the method for you.
Advance Tips On Cold Proofing
If you decide that cold proofing is the method of dough proofing that you want to try out, then don’t worry!
Here are some of the advanced tips for proofing at a colder temperature that are going to take your dough to the next level:
Use The Refrigerator For Slow Proofing
It may seem like an overly simple choice for cold proofing, but utilizing your refrigerator is an excellent way to ensure a well-proofed dough.
The consistent cold temperature is going to do wonders for keeping the slow-proofing process going.
Cover The Dough To Prevent Drying
Make sure you always cover your dough with some plastic wrap or a clean dish towel before proofing!
If you don’t cover your dough, the top layer is likely to dry out – making for a pretty unfortunate texture.
Retard The Yeast Activity
Some people choose to either buy or make an at-home dough retarder to help with the proofing process.
This method of proofing with a retarder causes less water to evaporate, causing the dough to rise more. By using this method, you will also require less yeast in your dough – saving you a few additional ingredients.
Extend Fermentation Time
Slowing the fermentation process with a cold-proof dough retarder – or simply in your refrigerator – can improve both the texture and flavor of the dough.
A dough that has cold-proofed for 24 hours is going to have a vastly different flavor profile than a dough that has quickly proofed at room temperature for an hour or two.
Longer Proofing Enhances Gluten
The longer that you proof your dough, the more the gluten will develop and strengthen.
Long proofing gives the enzymes more time to work away within the dough, resulting in a stronger structure.
Monitor Temperature Consistently
Make sure that your refrigerator – or any other location where you are proofing your dough – is maintaining a consistent temperature.
Check-in whenever possible to make sure that there are no unexpected temperature spikes or drops that could interfere with the proofing process.
Experiment With Varying Times
Try out different proofing methods that allow the dough to rest for different periods of time. A dough that was quickly proofed for 1-2 hours will taste vastly different from a dough that had a cold proof that rested for 24-48 hours!
Experiment with different proofing times until you find the one that suits your tastes.
Over Proofing
While leaving your dough to proof for longer can be a great thing, that’s not to say there’s no such thing as too long.
At around the 3-day mark, you may start to notice a strong alcoholic smell. This is nothing to worry about but may be a sign that it’s time to stop the proofing process.
If you proof your dough for too long, the acidic taste that comes along as a product of fermentation may become overbearing. Along with this, the texture may also start to worsen due to deflation.
How To Store The Dough
When storing dough, you can use an airtight container or simply place it in a bowl and put some plastic wrap over the top.
That being said, this is not the most environmentally friendly option! If you plan to make dough quite often, it may be worth investing in some airtight containers or a special proofing container.
Cooking The Dough
For a pizza with a crispy crust that still has a light and fluffy consistency on the inside, it is best to cook it at very hot temperatures. Using a pizza stone in either your pizza oven or a standard convection oven is a great way to ensure the pizza cooks evenly.
Frequently Asked Questions
Does all pizza dough need to be proofed?
No, not all pizza dough necessarily needs to be proofed. If you are working with par-baked dough or live dough crusts, no proofing will be required.
How will I know if proofing is successful? How to tell if the dough is proofed?
A simple test to check if your ball of dough is proofed is to press your fingertip against it. If it springs back immediately, it is not adequately proofed. A properly proofed dough should have a slower rise when pressed.
Can I use under- or over-proofed pizza dough?
Technically you can use under-proofed or over-proofed pizza dough, but chances are it won’t be a very pleasant experience. Your pizza crust will likely not get brown or crispy, which can be extremely disappointing.
How do I determine how much frozen pizza dough to proof?
How much frozen pizza dough you proof is entirely dependent on your specific needs and requirements.
If you’re proofing several individual dough balls at once, just be sure you don’t forget about them – over-proofing will lead to an unpleasant flavor and texture.
What Happens If You Don’t Proof Your Dough?
If you cook your dough without proofing, it is likely that you will end up with a final product that is tough, flat, and lacking in flavor.
Proofing your dough is an essential step when it comes to producing a final product with both great texture and flavor.
As someone from Long Island, New York, Thomas knows what it takes to make a good pizza. He understands that it’s a combination of high-quality ingredients, well-rounded pizza ovens, and a little bit of love. From the dough of a Neapolitan-style pizza to the wood that powers a wood-fired pizza oven, he has you covered. Thomas’ love of pizza is what got him here and he hopes that you’ll enjoy pizza as much as he does soon.